In this week, we use Telenor Start IoT’s setup for the LoPy to send data via LoRaWAN into a data collection backend.
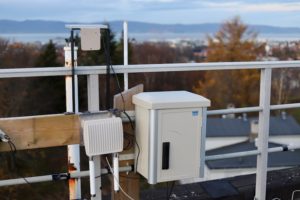
This is the antenna on the roof of the Electrical Building that connects to your LoPy:
Start Tutorial
Follow the LoPy and Managed IoT Cloud Quick Start Guide. This includes to get your account, and upgrading the LoPy fimrware.
Hints and Tips
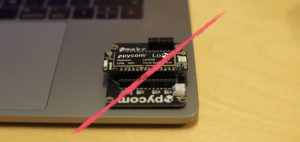
Don’t shortcut the LoPy by putting it on a metallic surface, like a MacBook. That’ll kill it.
Make sure you mount the antenna in the right place, i.e., the plug close to the LED.
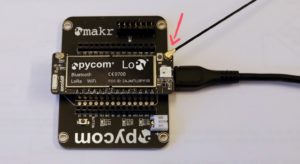
Also, make sure the LoPy is mounted in the correct direction onto the expansion board, as shown above.
The tutorials only work close to a LoRaWAN antenna, for example on Gløshaugen.
LoRaWAN Temperature Sensor
Follow the LoRaWAN Temperature Sensor Tutorial.
LoPy Motion Sensor
Follow the LoPy Motion Sensor Guide.
Managed IoT Cloud API MQTT Subscription (Optional)
Follow the Managed IoT Cloud API MQTT Subscription Guide.