Unit 1: Raspberry Pi
In this week you are going to get familiar with the Raspberry Pi. We will couple electronics to it, learn how to connect to them, and write simple programs in Python. Hints: Today, you will only work with one Pi…

In this week you are going to get familiar with the Raspberry Pi. We will couple electronics to it, learn how to connect to them, and write simple programs in Python. Hints: Today, you will only work with one Pi…

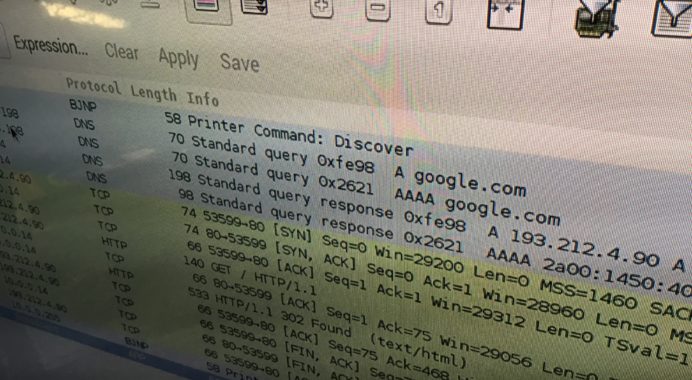
Wireshark sudo apt-get update sudo apt-get install wireshark
In this recipe we connect the Adafruit PN532 NFC/RFID Shield to a Raspberry Pi and Reactive Blocks via the I2C bus. Physical Connection Connect the NFC shield with the following pins of the Raspberry Pi Connector. (Use a breadboard or…
Step 1: Connect the PIR Sensor Connect the PIR sensor with cables. We use the following colors: red… +5V black… GND (ground) yellow… OUT (signal) Step 2: Connect the Breadboard Have a look here on how to connect the breadboard.…

A breadboard is a protoyping board to test out simple electrical circuits. It is sometimes easier to connect components to the Raspberry Pi with a breadboard, especially with an extension cable. Step 1: Connect Breadboard and Connector Push the connector…

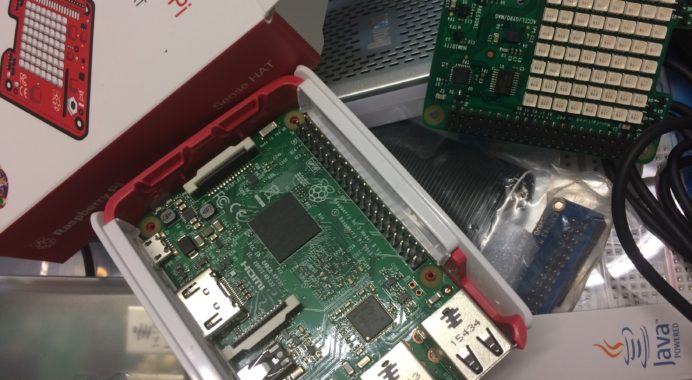
What’s in the box: The content of the boxes is picked to work with the Raspberry Pi mini computer. Inside the box, you will find: 1 Raspberry Pi 3 1 Raspberry Pi, Model 1 B+ 1 16 GB micro SDHC…
The address for the MQTT server in the lab is mqtt.item.ntnu.no via port 1883. Websockets are supported via port 80.
What is a Recipe? This recipe explains how to write a recipe. A recipe is a short description of how to achieve some goal in the lab. Ideally, a recipe is focused on a single task. Since technical documentation is…
MQTT.fx is a Java program to send and receive MQTT messages. You can use it to check if your program send messages, or trigger your program by sending messages to it. Getting Started Below is given the main window view…